No one likes those cracking factory speakers that come with the vehicle. To achieve the sound you eager to hear when riding the car, you need to replace the old speakers with a new and high-quality one. That’s where the knowledge installation of car speakers come in handy.
Just like picking the best quality door speakers for your car, you need to be careful when installing it. In this post, we’ll guide you through the steps by which you can effectively install the newly purchased car speakers within a few moments. Stay with us!
1. Gather the Necessary Tools
Gathering the supplies for installing the speaker is necessary for comfortable installation. Otherwise, you may end up searching for an essential tool in your storeroom leaving all the mess in the car. So, get the essential tools before you get into the car to replace the speakers-
- Different Types of Screwdrivers
- Wire Strippers
- Electrical Tape
- Soldering Iron
2. Disconnect the Battery
The next thing that is not a requirement for car speaker replacement alone. You need to disconnect the power source when working with any type of electrical component to keep yourself and components safe.
So, open the car hood to access the car battery. Disconnect the wire from the negative terminal of the car battery. If you can’t recognize the negative terminal, find a ‘-’ sign or black color in the terminal. Found it? This is the negative terminal of your car battery. Remember this, it will come handy in many other tasks.
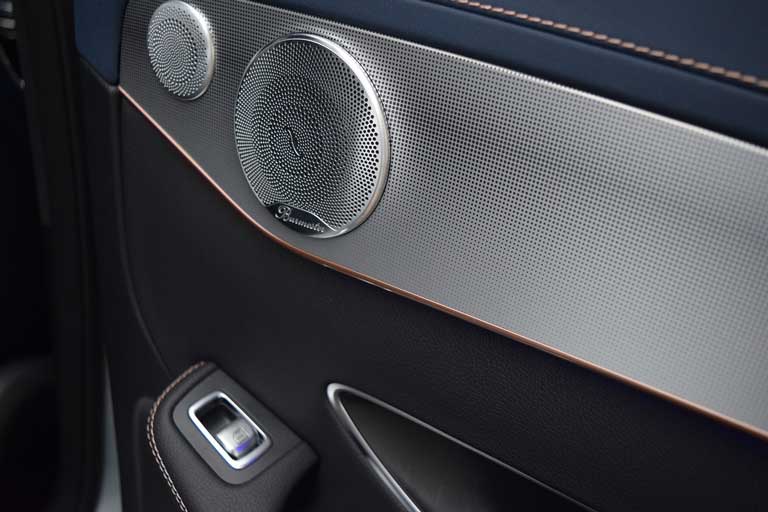
3. Remove Speaker Grills
Now that you have made the work safe by disconnecting the battery, remove the speaker grill if your car has one. Most of the modern cars come with an extra protective layer of speaker grill to keep the speaker components safe from any abuse.
Insert a flat-head screwdriver in the side of the grill and try to remove it. While most of the grills don’t come with any screws at all, you may see one or two in some cars. If your car has speaker grills firmly attached with screws, unscrew them to remove the barrier between you and the factory speaker of the car.
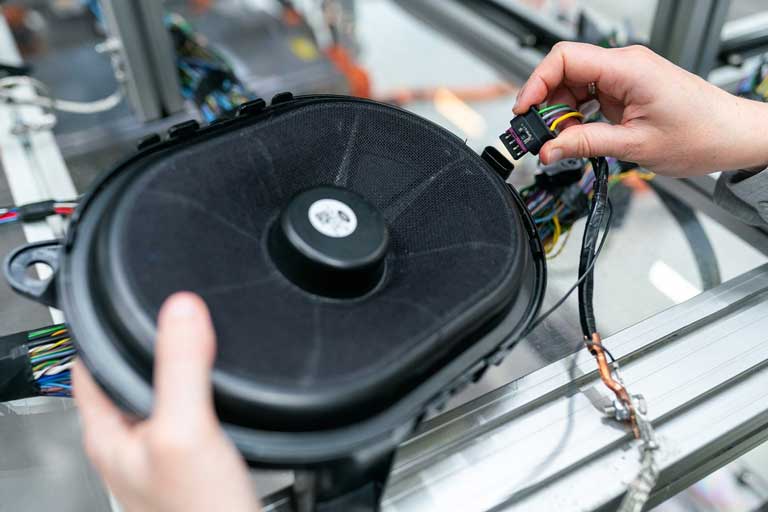
4. Remove the Factory Speakers
After removing the grill, you should now see the factory speakers mounted with some screws. Unscrew them to remove the old speaker from the compartment.
Despite removing the screws, you may find it difficult to remove the factory speakers from the compartment. This can happen because of the adhesives that were added to give the speaker an extra layer of protection against the car vibrations.
Gently remove the speaker from the place and disconnect the wires. Most of the cars come with easy push connectors. You need to press the trigger to disconnect and push the male connector towards the female one to connect.
And, don’t forget to store the screws safely that was holding the speaker. You’ll require those if you need to mount the speaker again in the car.
5. Test the New Speakers
After removing the factory setup, you need to check whether the new speaker works or not. Here’s a simple way to test this-
Connect the new speaker with the car’s speaker wire connectors. Get out of the car and connect the negative wire to the battery terminal that you have disconnected a few moments earlier.
Now, get into the car again and check the new speaker connections. If the connections are good, turn the radio on to test the speaker. You may test the speaker with different sound pitches so that you get a better idea about the quality of the speaker.
In the off chance, if you don’t hear any sound from the speaker despite turning the radio on. Check the speaker connectors if they are okay. If they are good, check the battery terminal connector. You may have not connected it correctly.
After the testing process is done, don’t forget to disconnect the battery again.
6. Install the New Car Speaker
After the speaker passes the test, it’s time to install the car speaker at the door. Position the speaker at the right place and hold it there. Screw the speaker from top to bottom. Start with the top one to hold it comfortably and finish it up with the bottom one.
Some cars may not come with the push connectors to connect the speaker with the car, you need to use wire stripper and electric tape to cut loose the old speaker and connect the new one.
After the installation of the speaker is done, place the speaker grill at its place. If there were no screws holding the grill, place the grill and firmly press it against the car door to install it.
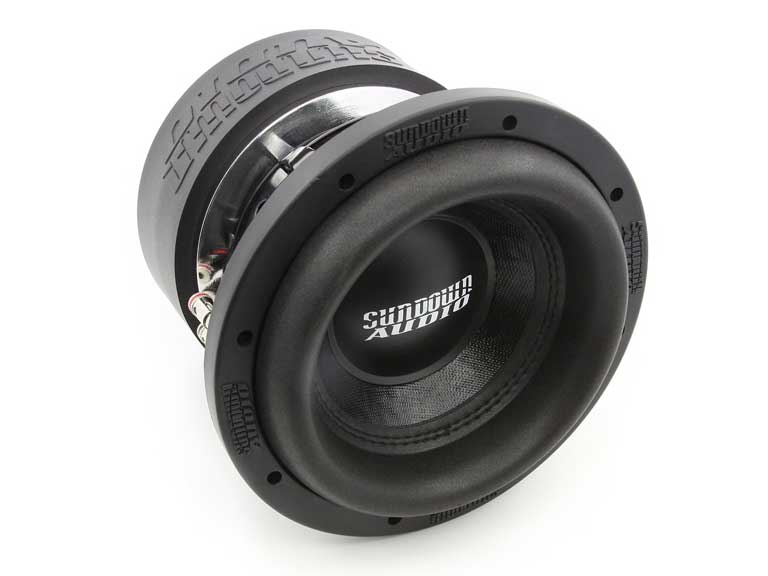
Install Woofers & Tweeters
Unless you buy a coaxial speaker, you need to install the woofers and the tweeters to finish up the installation process. Don’t worry! You don’t need to learn anything extraordinary to install those.
Follow the steps that we have talked about earlier to install the woofers and tweeters in your car replacing the factory setup.
Car Speaker Installation Tips
Now that you know how to install car speakers without consulting professionals, here are some tips that might help you in the installation process-

1. Read the Manual Carefully
Every car has a different setup inside. So, you may encounter a problem that is not discussed here. That’s why you need to go through the owner’s manual of the car and check the speaker chapter for details about the replacement.
And don’t forget to see the newly purchased speaker instructions too. There may have some special tips and tricks to install the speaker perfectly in your car.
2. Check the Speakers if it Fits or Not
Before you start opening the speaker grill, check the speaker dimensions, and screw positions to check if it is the right one or not.
You’ll find every detail about the speaker dimensions, setup requirements, and other details in your owner’s manual. So, check that too.
3. Install One by One
People often do mistake by attempting to install all the speaker components at once. Don’t do this. This will create a mess all around and it will give you a serious headache in case you mix different screws and old components with new ones.
And what about putting the wrong component in the wrong connectors to burn out the entire system?
4. Careful with the Wiring
Handle the wires with care, especially the push connectors. They are made of plastic and may break if you carelessly press in the wrong place.
And when you connect the new one, make sure to double-check the wire colors and the positive-negative signs to connect correctly. The positive wire goes with the positive one, and negative with negative.
An easy way to do this is by seeing the wire colors. Red wires are positive and the blacks are negative. In some rare cases, you may see other colors like white, blue, and yellow colored wires. Find a ‘+’ sign for positive and a ‘-’ sign for negative.
5. Double Check Everything
The last and most important thing. Doing some electrical work is fun when you can do it right. To end the installation process with a smile, double-check everything you have touched while removing the old speaker and installing the new one.
It is better to spend 5 more minutes to check every wire connection, switches, and other stuff before you connect the battery finally. If you leave anything unattended, it may result in the full system burn out.
Final Words
After all the installation guide, tips, and tricks, you are now well-educated about the car speaker installation process. It’s the time to connect the battery and turning on the favorite show on the radio.
After installing the speaker, hear the sound quality and other pitches carefully to check whether everything is working fine or not. Manufacturing faults come into notice within the first week of the installation. So, carefully listen to the sound of the speakers.
And before you go full force, check the instructions again to see if they have asked you to calibrate the speaker or not.
Table of Contents1. Gather the Necessary Tools2. Disconnect the Battery3. Remove Speaker Grills4. Remove the Factory Speakers5. Test the New Speakers6. Install the New Car SpeakerInstall Woofers & TweetersCar Speaker Installation Tips1. Read the Manual Carefully2. Check the Speakers if it Fits or Not3. Install One by One4. Careful with the Wiring5. Double Check EverythingFinal Words